Home »
» Floors Glue Up shaping sheer clamp
03:16
One small sentence in the instructions couldnt take three days...could it?!! But yep, gluing in the floors is quite time consuming so by the time I had refined their fitting and drilled for the screws, it was quite a slow procedure.Each screw needed three separate drill bits to make the pilot holes, 12mm for the counter sunk portion, 6mm for the clearance and 4mm for the pilot in the keelson - previous short cuts resulted in broken screws, swear word and general self flagellation.....
Here you can see the floors being epoxied to the hull. A large screw secures it at the trunk down into the keelson, while further smaller screws are driven up from outside the hull at the plank laps into the floors. The "fillers" are screwed into the keelson acting as spacer between the floors. On top of this sandwich a truck cleat is secured, which makes for a tight integrated structure allowing the lead keels weight to be distributed over the hull and tying in the centre board trunk structure.
Here you can see the fillers screwed and glued into between the floors before the trunk log cleat is assembled on top. I made wood plug to fill the screw holes, which were chiseled flush before attaching the trunk log cleat.
The finished result cooking under the infrared panel to counter the unseasonable arctic weather we are experiencing.
 Meanwhile, I made up a camber template to shape the sheers and the top of the bulkhead. The camber is specified as a 2" rise over 6.
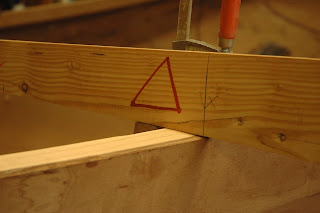 I found it a good idea to mark the topside of the template as it is easy to have it the wrong side up....which might have been the reason for my flattened sheer-clamp!!


0 kommentaari:
Postita kommentaar