The last two weeks have been mostly about fitting longitudinal pieces, namely the remaining work on the port side chine and more work on the port side sheer (first lamination).
The chine didnt disappoint me. It was every bit as difficult to get into position as the first one was. The difficulty was compounded by the lack of space on the port side of the boat. But after working it for several days, I got it glued into position.
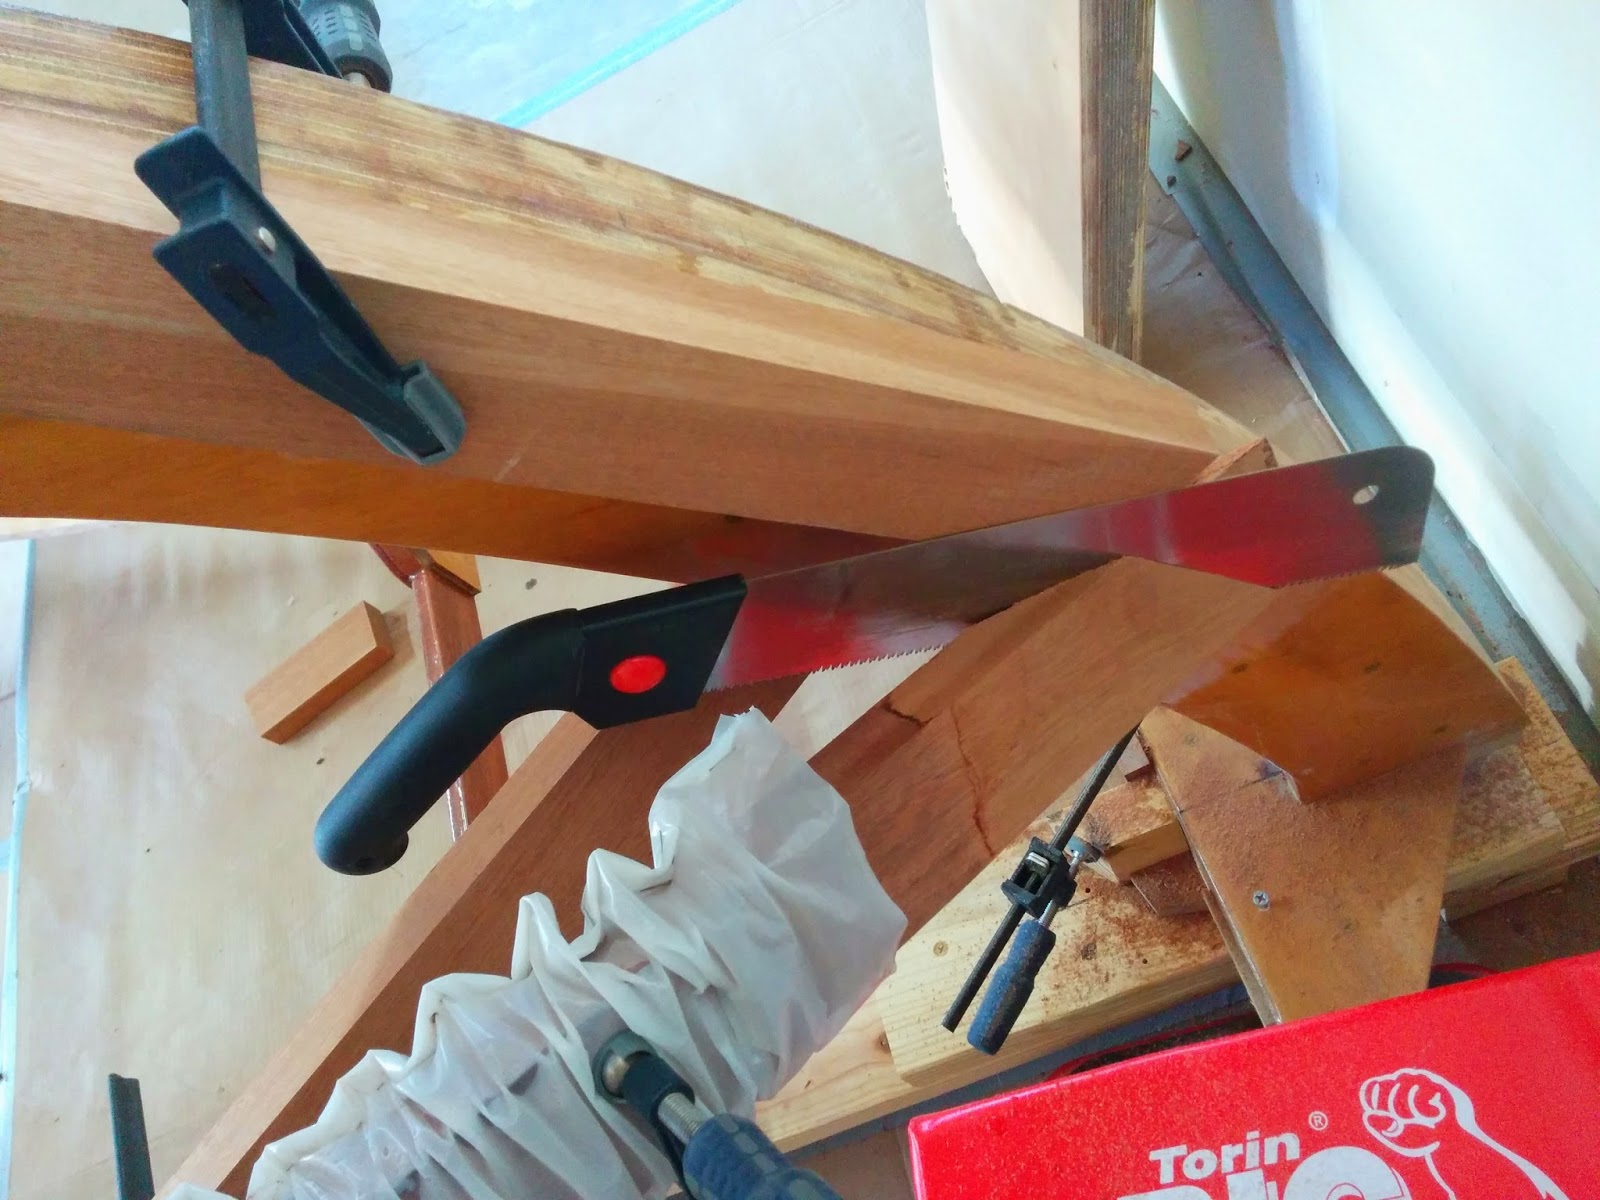
Everything appeared to be going well with the fit. I had made the stem / chine angle cut as shown in the next photo and did last minute test fitting. It looked ready to go. I had trimmed the back end of the chine to the length needed to fit into the transom. Again, everything appeared ready to go.
The chine was glued into position struggling with every notch. Like the first chine, I glued it in stages so that I could avoid rushing. This worked out well and allowed me to make adjustments as I went. But when I got to the front of the chine and started clamping it down (after applying the epoxy), I could see that that the chine was going to be a bit off compared to the other side. The difference isnt great and I can correct the difference when I get to fairing later on, but I wasnt happy about it.

Although not as perfect as I had hoped it would be, I can work with the problem and correct it. But needless to say, I am glad to be done with the chines. I was sure that the sheers would be a breeze.
I still had to cut notches on the port side of the boat for the sheers. Just as a point of reference, the port side is currently the side against the wall. The notches are close to the floor and have to be cut upwards when using the saw. Fitting myself in the space, trying to get the notches cut correctly and sawing upside down made for a purple cloud or two that day. However, perseverance paid off and I eventually got them all cut.
The next step was to steam a second piece of sheer lumber so I could pre-bend it. I already had one bent, but the bend on that was not as tight. I decided I would use that piece for the outer lamination. The reader may remember that the sheers are made from two laminations. The outer lamination will not be required to be as tight as the inner lamination.
Compared to the thick lumber used for the chine, the sheer lumber was much easier to steam and bend and that was accomplished in short order. Like the chines and keels, the sheers require a scarf joint so they can be made longer. I had decided earlier in the build to pre-bend the sheers and then add the extra length. This gave me some leeway for fitting the part in the garage while doing the bending sine I didnt have to contend with the extra length.

Because of the curve in the part, I was able to add the extra length in the garage rather than having to perform this action outside. But as you can see in the pictures, it just barely fit. I used a 1 to 12 ratio on the scarf joint similar to the chine.
In case this process is unfamiliar to the reader, I will briefly go over it. A scarf joint gains its strength by having a large surface area for the joined surfaces. The length of the diagonal cut is the larger of the ratio numbers times the thickness of the wood being joined. My sheers are 5/8 inches thick or 0.625 inches. With a 1:12 ratio, that means that the diagonal should be 12 times 0.6.25 or 7.5 inches.
Using Google, I found an angle calculator that would give me the angles needed for the cut. This worked out to slightly less than 5 degrees. So I cut two pieces of scrap lumber at 5 degrees to make a place for the router to slide on as I cut the joint. These pieces were screwed down to a board on both sides of the sheer and everything was clamped down.
Then its a simple matter of running the router up and down the angled pieces, gradually increasing the depth of the cut until a sharp edge is made on the end of the lumber. The second pieces is done similarly so that you have matching angles to glue together.
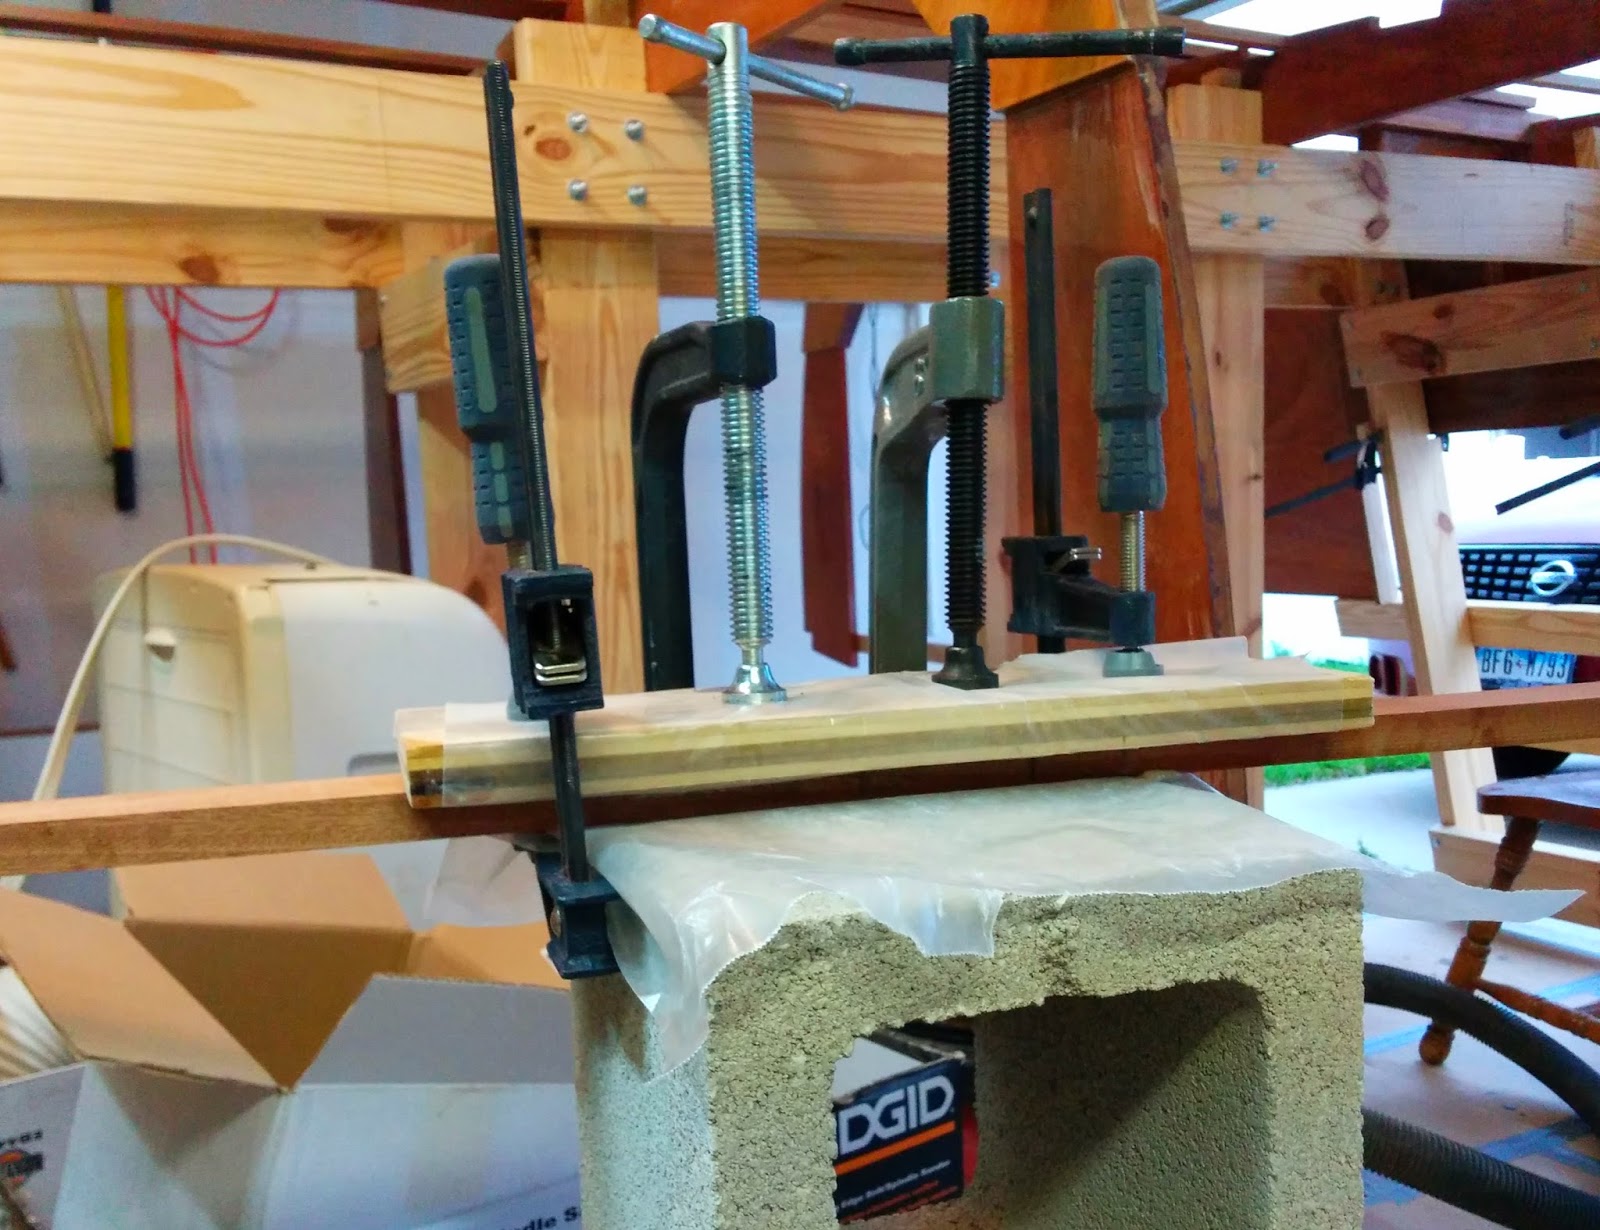
When gluing the parts together, you have to insure that the parts stay straight with each other and dont slide apart. I insured they wouldnt slide by clamping both pieces down first. The I gradually applied clamping pressure making sure to keep the two pieces aligned with each other.
Once the scarf joint had cured and the glued lines cleaned up, I got back to installing the first port side sheer lamination. The added length made the part harder to work with and highlighted some minor discrepancies with the sheer notches. These were corrected. But then I found that trying to get this long part into position was very difficult. I knew from past experience that trying to rush this and do it all at once would lead to mistakes and frustration.
So I elected to glue the front piece only. This is the part that is attached to the breasthook. Once this epoxy is cured, I will glue the sheer to the remaining notches.In order to get the sheer to clamp to the breasthook I had to come up with some sort of clamping jig because of the angle of the breasthook.
My first attempt at this was unsatisfactory but would be sufficient for steaming and preliminary attachment. The final clamping jig I made is a mirror image of the breasthook.
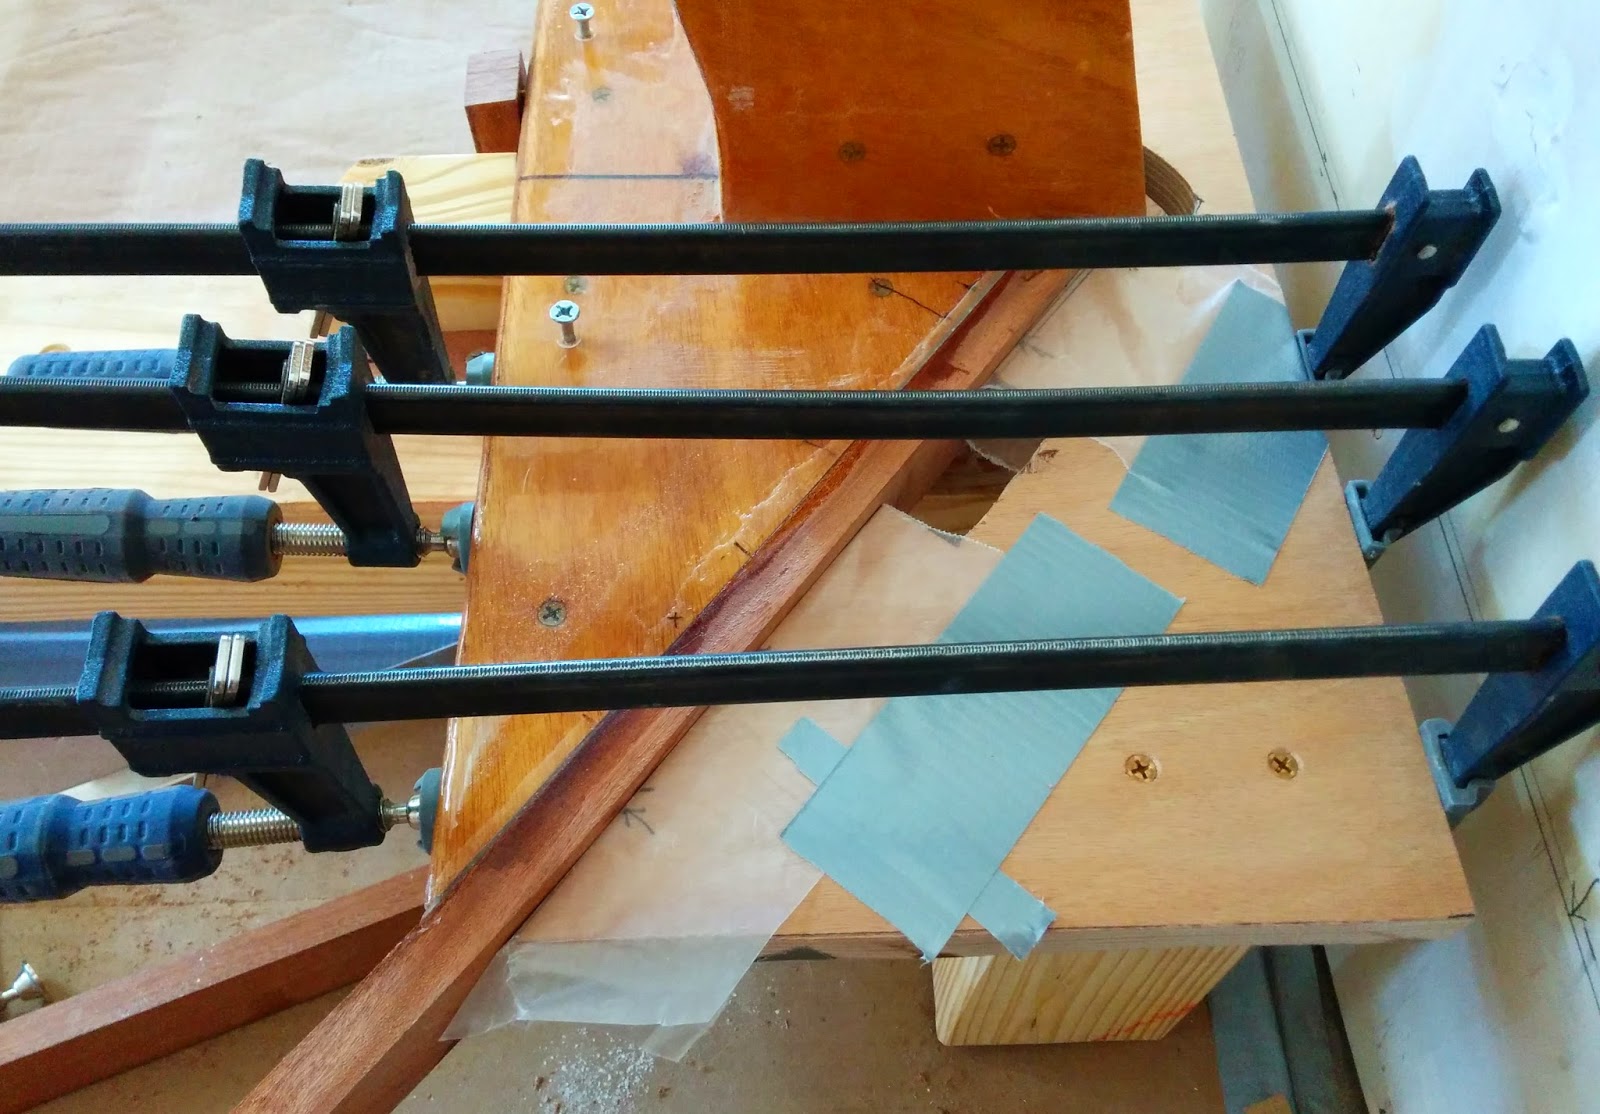
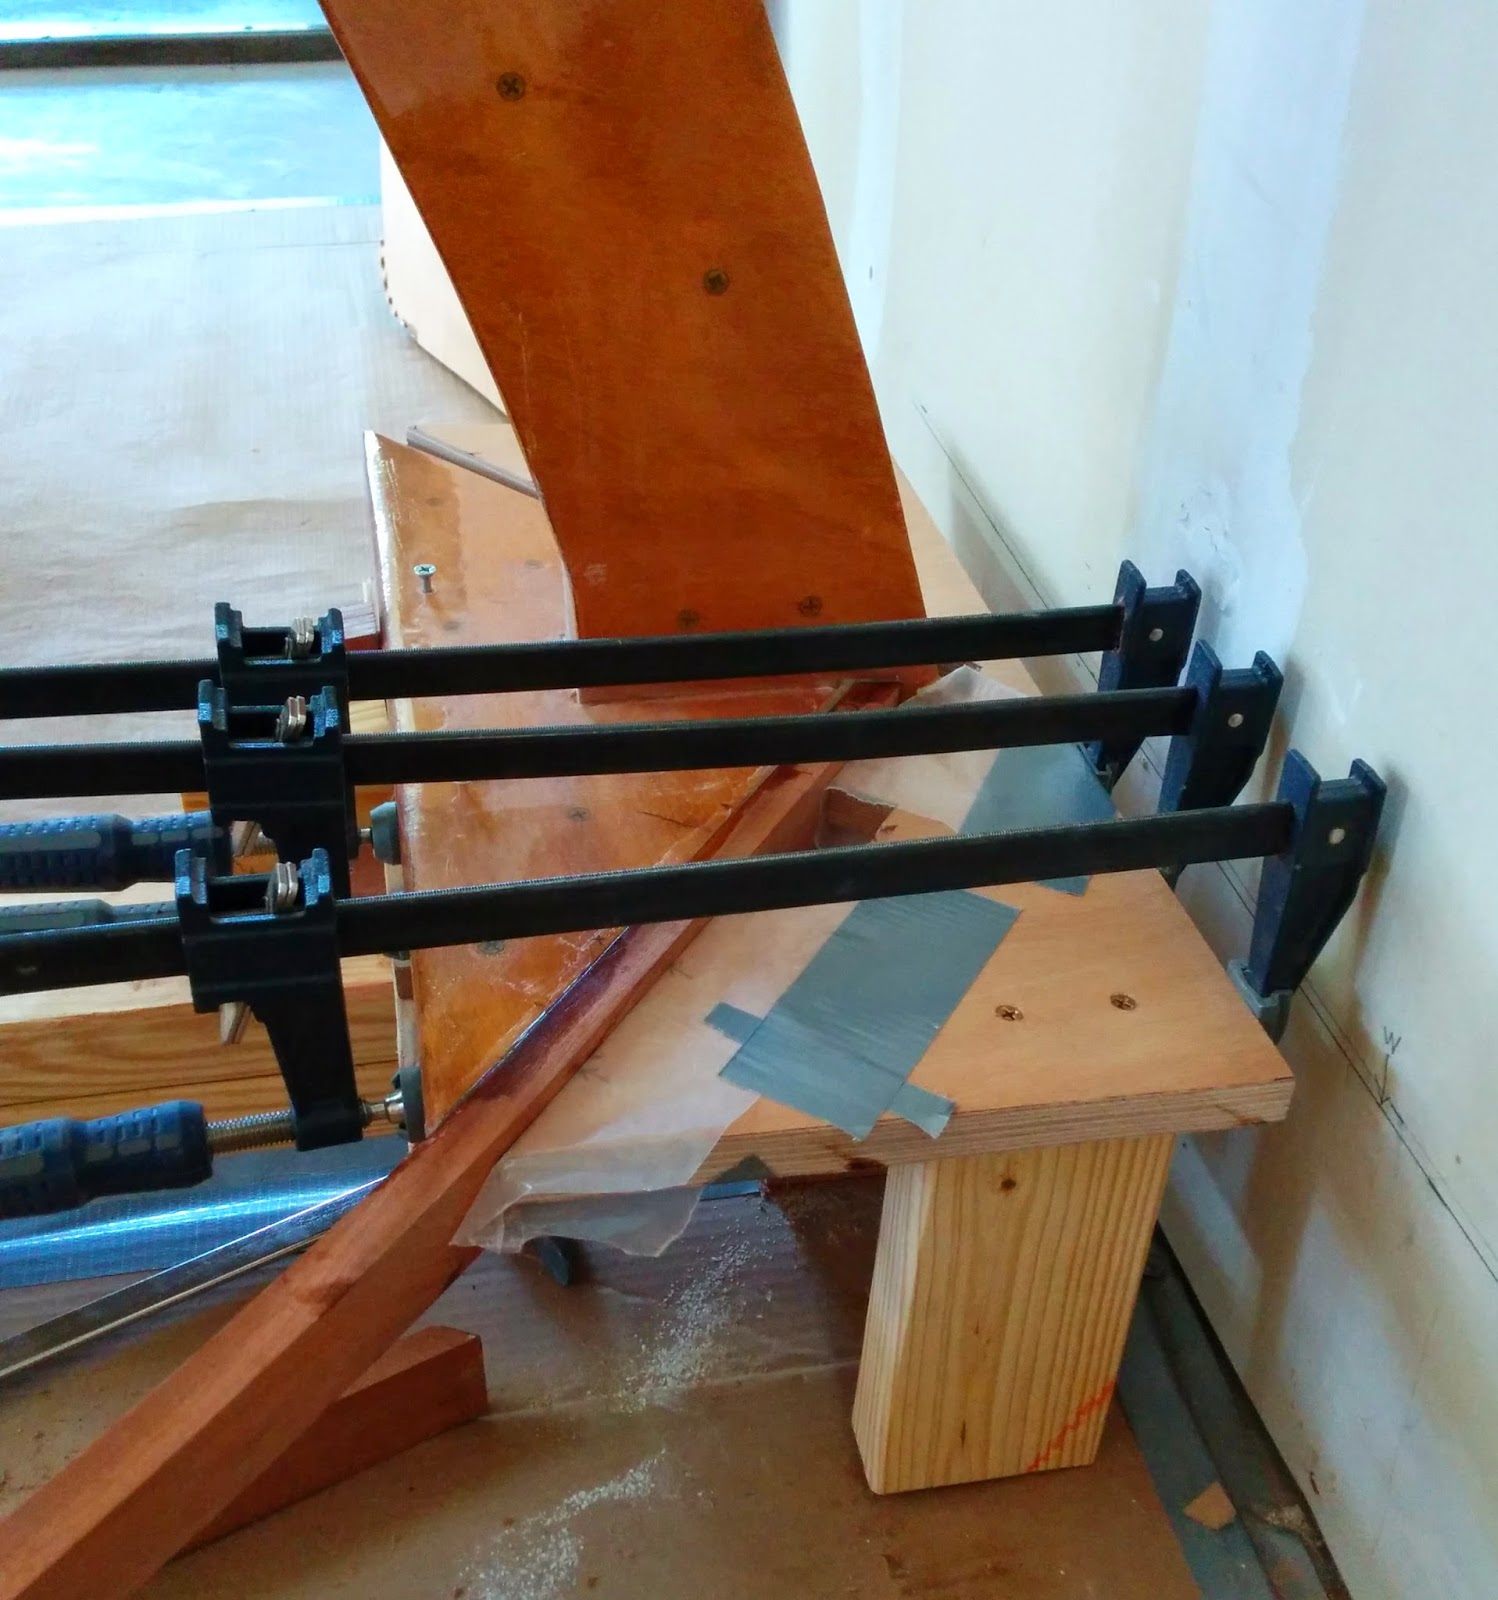
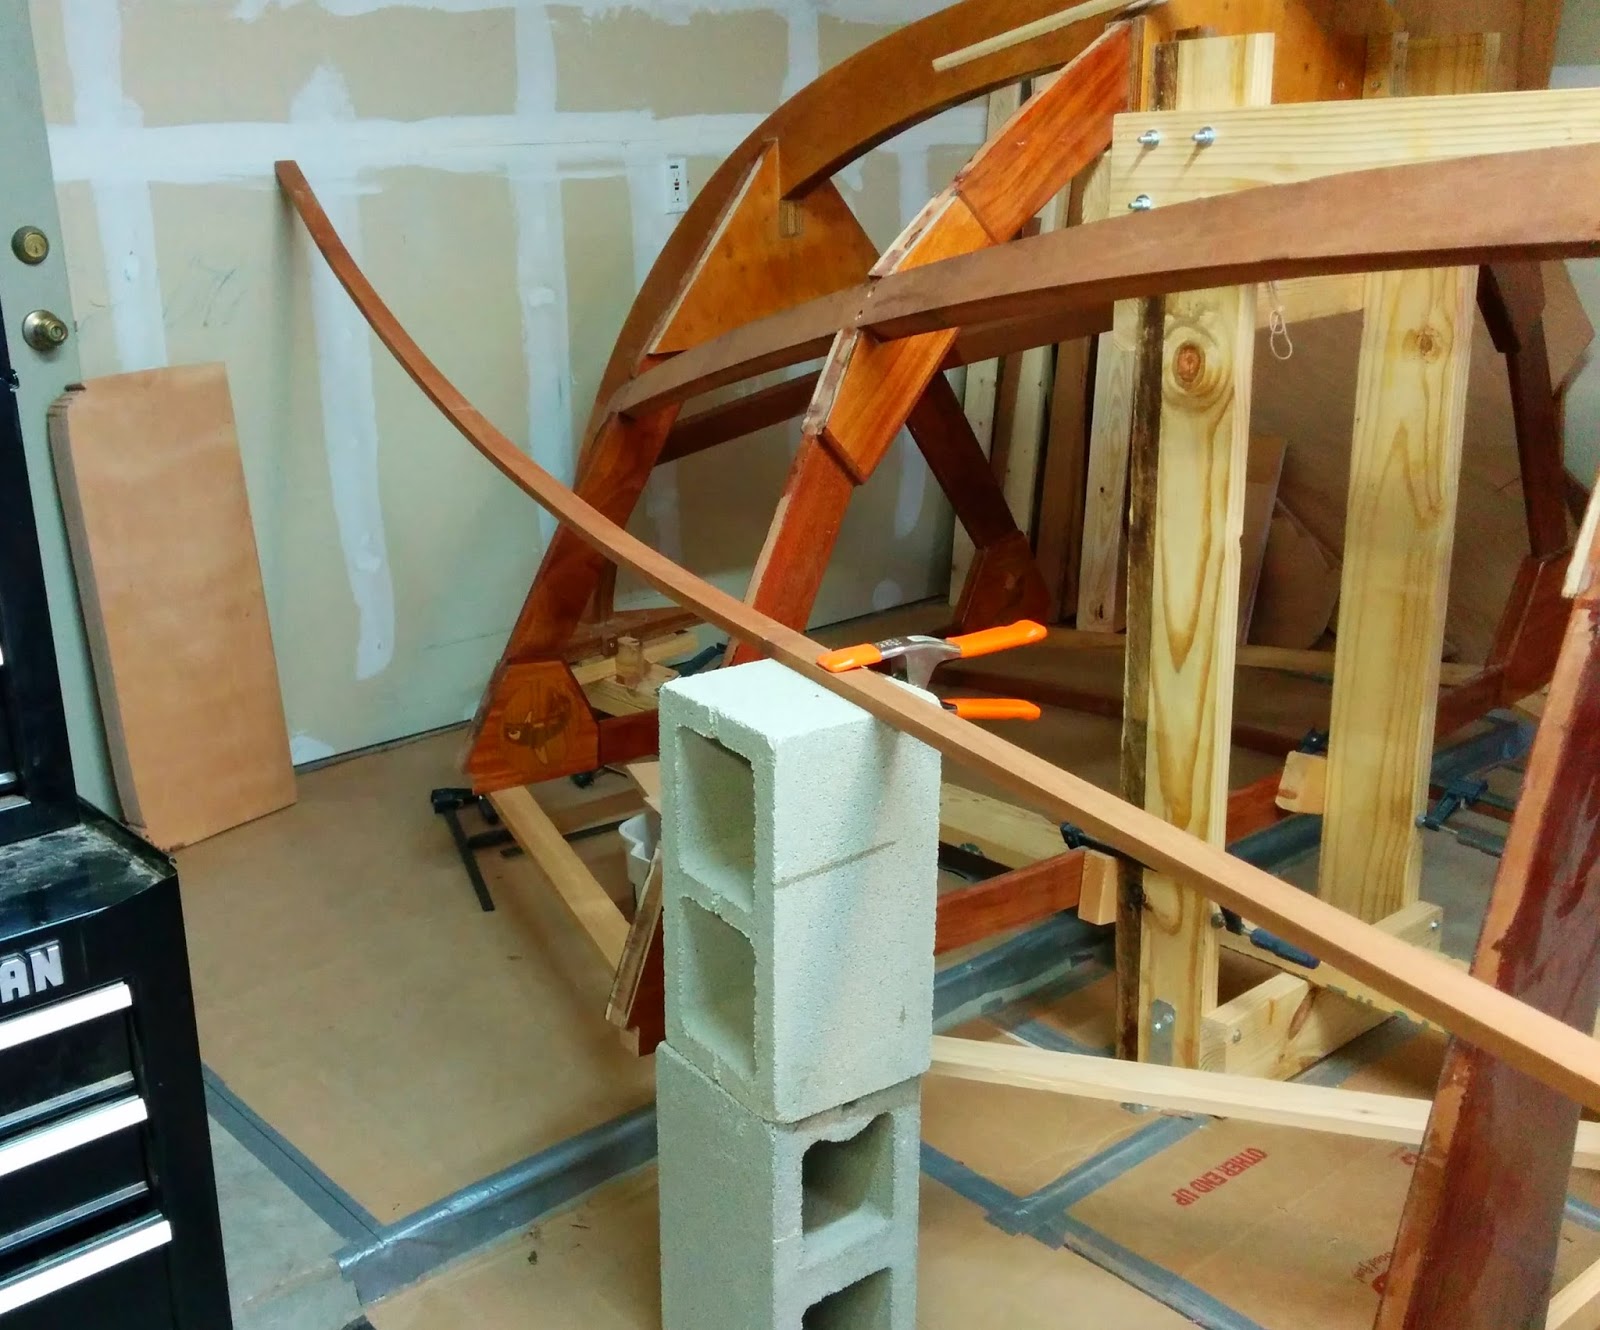
It has legs to hold it at the correct height so I dont have to fight with it when trying to clamp the springy sheer into place. It also has a small notch cut into the clamping surface so that can initially clamp the part (using my first unsatisfactory clamping arrangement).
The process went like this. Clean and glue up the mating surfaces, Place a cinder block under the far end of the sheer to get it somewhere near the correct height. Use the initial clamp to get the part into position. Get the part aligned correctly and use one wood screw to hold the part in place. Then use the clamping jig and three clamps to clamp the part into final position for curing. I removed the initial clamp because it was in the way for one of the other clamps.
Once this epoxy cures, I will then finish gluing to the other notches.That is where I am at as of today. I will need to extend the second lamination using a scarf joint and then glue that lamination to the first part. That will have to be done all at once and require a bunch of clamps. I knew from my experience with the keel that I did not have enough clamps so I went out yesterday and bought 18 more.
I will cover that process next time I post. Take care.
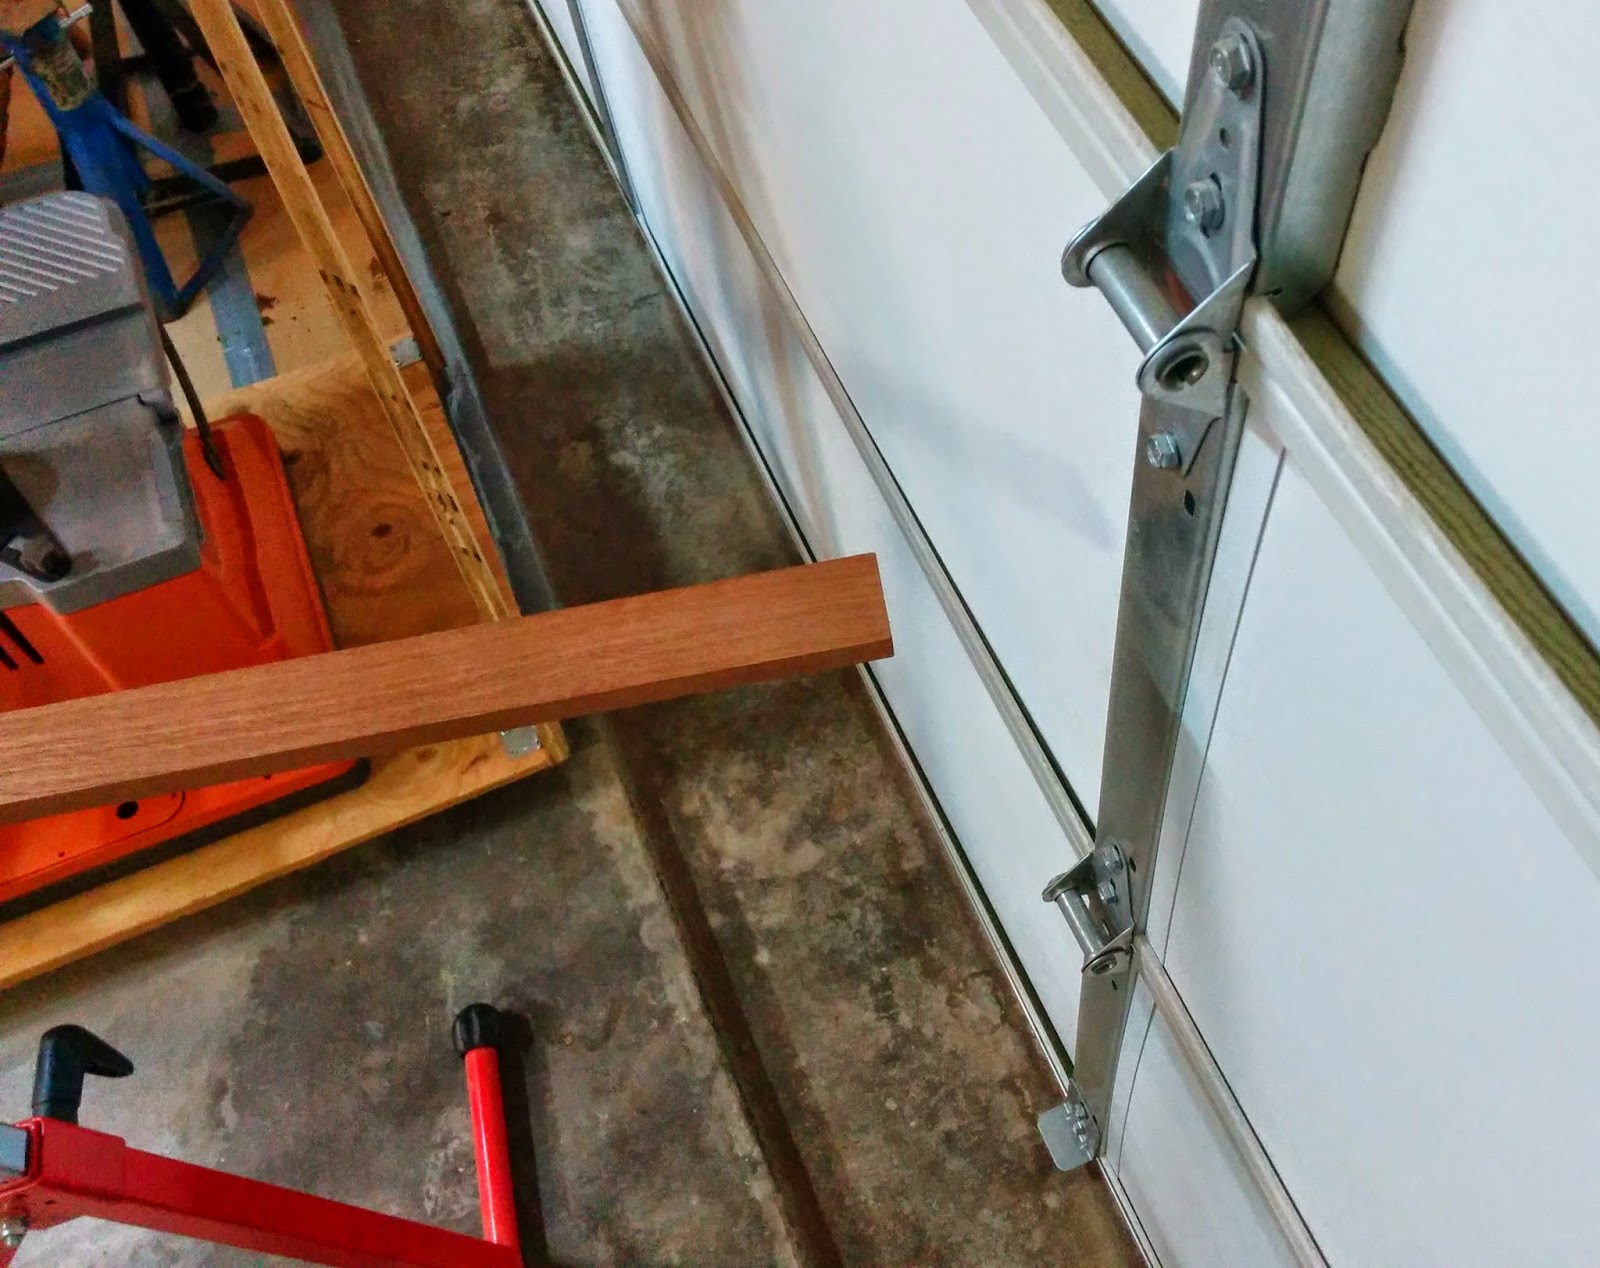
Update late in the day 5/11/2014: After doing this work, it was brought to my attention that the sheer appeared to be too far forward. Actually the breasthook was too far forward. There would have been insufficient material on the stem to fair correctly into the sheer.
After beating myself up for awhile and agonizing over two possible solutions, I elected to take the plunge and correct the problem. One solution would have added additional material on the front of the stem and required that to be blended into the breasthook and sheer. In the area I had to work, this would have been very difficult to accomplish.
The other solution was to trim material off the forward edge of the breasthook and re-glue the sheer. Of course this require removing the already glued on sheer. Fortunately, I have a very useful tool, a Bosch multi-tool that made this fairly easy to do and caused very little damage to the parts. After a bit of clean up and trimming of the forward breasthook edge, I glued the sheer back into position and it is now correctly set back.. I will have to trim the opposite side of the breasthook as well.
An unfortunate mistake, but at least it was found now and not later when it would have been much harder to correct.


0 kommentaari:
Postita kommentaar